
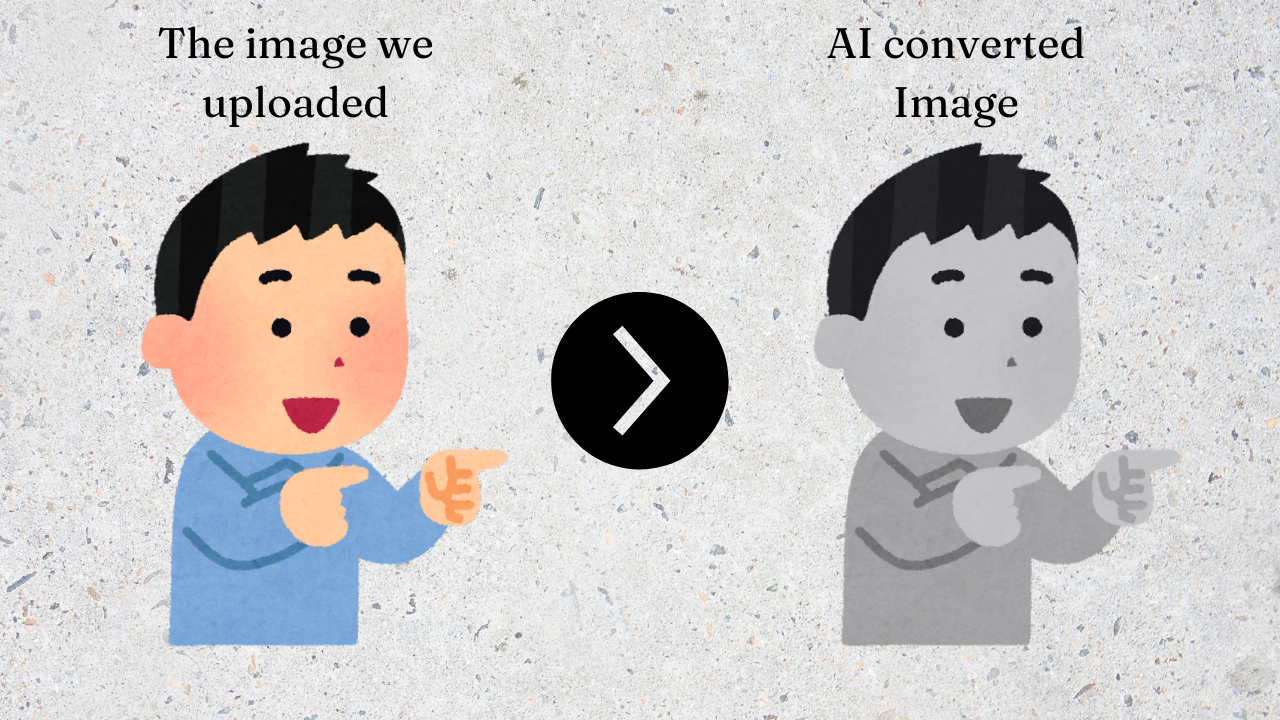
AI - Color to Black and White Image
Through this project, you'll get a hands-on introduction to image preprocessing, a crucial stage in machine learning pipelines. We utilize tools like MediaPipe, OpenCV, and IPython to handle image input, processing, preview, and download—all in one interactive notebook. It's a great starting point for anyone curious about how artificial intelligence sees and processes the world in shades of grey.
Technologies Used
- IPython Display
- OpenCV
- NumPy
In this comprehensive guide, we will walk you through building your own Happy Face Detection AI from scratch. The process includes setting up the environment, enhancing image quality, detecting faces, and analyzing emotions using deep learning models. With Python, OpenCV, and TensorFlow, you'll create a robust system capable of accurately identifying happy faces. Plus, you can follow along with a detailed YouTube video walkthrough that visually guides you through each step.
Why Build This AI?
The AI has several real-world uses, such as:
- Foundational Step in Computer Vision: Converting images to grayscale is often the first step in many AI tasks like object detection, edge detection, and image classification.
- Data Preprocessing for AI Models: Many deep learning models perform better or faster with grayscale images, especially for tasks where color is irrelevant.
- Real-world Use Cases: Used in OCR (Optical Character Recognition), medical image analysis, surveillance systems, etc.
- Educational Purpose: A great beginner project to understand how AI and computer vision workflows begin.
Let's Build It
import cv2
import numpy as np
import os
from google.colab import files
from IPython.display import display, Image

# Upload image
uploaded = files.upload()
image_filename = list(uploaded.keys())[0]

# Read image
image = cv2.imread(image_filename)
gray_image = cv2.cvtColor(image, cv2.COLOR_BGR2GRAY)

# Save processed image
bw_filename = "black_and_white_" + image_filename
cv2.imwrite(bw_filename, gray_image)

# Display processed image
display(Image(bw_filename))

# Download processed image
files.download(bw_filename)
Import Libraries
- cv2, numpy, and os for image processing.
- google.colab.files for uploading and downloading files.
- IPython.display for showing the image inside the notebook.
Image Upload
Prompts the user to upload an image from their local system using Colab’s file upload interface.
Read & Convert Image
- Reads the uploaded image using OpenCV.
- Converts the image from color (BGR) to grayscale using
cv2.cvtColor.
Save Processed Image
- Saves the new grayscale image with a filename prefix
"black_and_white_".
Display Output
- Shows the processed image directly in the notebook for preview.
Download File
- Provides a download link for the user to save the grayscale image locally.